Showing posts with label kids crafts. Show all posts

Friday, August 15, 2014

State Fair Adventures

us at 3ish am
Last Saturday, at 3 am, Miss M and I woke up and drove down to our state fair.

Yes, this was crazy. No, I don't regret it. Yes, I would do it again.

You see, Miss M is in 4H and a few weeks ago we had our county fair. She did pretty fabulously in the county fair this year and was chosen to be one of the delegates our county sent down to state fair.

Miss M with her shirt!
We thought we would head down Friday, but alas, all the hotels were booked (or had a two night minimum) and so I thought maybe we wouldn't get to go. But, she worked so hard, and this was quite an honor, so we talked over some ideas and figured out how to make it work.

So at 3am, we woke up. We had packed the car the night before, and since there isn't much else to do that early in the morning, we got on the road to head to Springfield, IL.

It's pretty quiet on the roads at that time. And so we ended up talking while driving, which was nice! I told her "take advantage of this! It's just you and I and that doesn't happen very often!"

Hello Pres. Lincoln!
We arrived at the fairgrounds a bit after 7. I attempted to nap (wait, is it called a nap if it happens that early? lol!), and we headed out.

She had to be at the 4H building around 9, and we ended up getting their early (which was great since there was a line). Since we were one of the first ones there, we checked in early, she got judged early and we had the rest of the morning to walk around.

her sewing
She showed in the Clothing & Textiles division - and did level 1 (the first level). I'm going to have a total mom moment here: I am SO proud of her! She sewed her shirt and worked really hard on it. For the side edges, she even did a french seam to make it look nicer. I was there to talk to her, to guide her (with words only) if she needed me. I stayed close as she ironed and sewed (just in case), but that girl did such a good job. Her shirt looks great! I don't think I could have done that 11. Um, actually, I didn't figure out how to do that until I was out of school!

Learning to use a drop spindle
After lunch, we were able to pick her project up, get the judges comments and see if she placed. She didn't, but it was a great experience and it's an honor just to be there (which I know sounds like a cliche thing to say, but I mean it!)

After that we walked around the fair some more. We spent some time with some other families from our club (who were also there to show a project!). And we had a lovely day.

moo!
About 3pm, we both looked at each other and declared that our feet hurt! That it was time to get going, though she wanted to do one more thing: milk a cow. So we did and we got back on the road.

She slept most of the way home, which didn't surprise me in the least bit. I was a bit jealous of her while she was sleeping! Though, we did have a plan to stop if I needed to catch a catnap. And if I felt I needed a lot of sleep, we planned to just stop at a hotel. Neither was necessary, but I think if we had stayed at the fair much longer it might have been.

We rolled up back at our house a bit after 7. Both tired, but both glad we went, and both wanting to go back next year!

Beyond this, I will say, 4H has been a great and wonderful thing for her. It was kind of dumb luck that we decided to join 3 years ago, but I'm so happy we did. She's learned so much, and had a lot of fun doing it. She's been able to show projects at the county fair, and now the state fair. She's learned some really good skills, created things she is proud of, made some friends, and has done some service projects.

I love 4H. She loves 4H and we are both eager to start the next club year!


Tuesday, November 17, 2009

Craft Day Project 1!
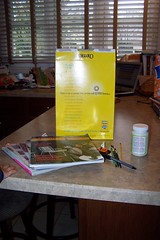
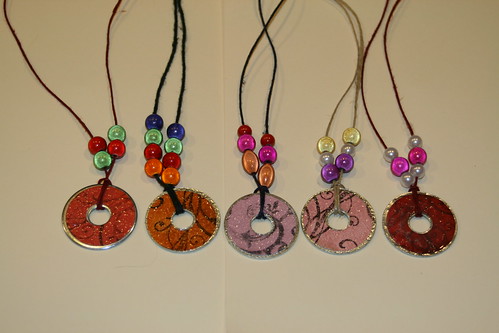
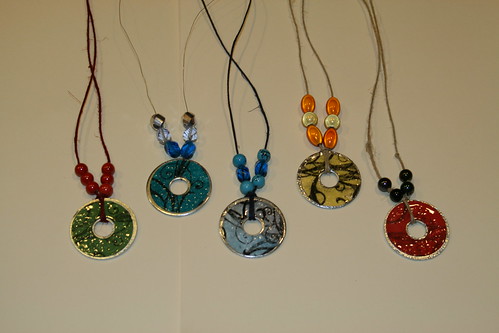
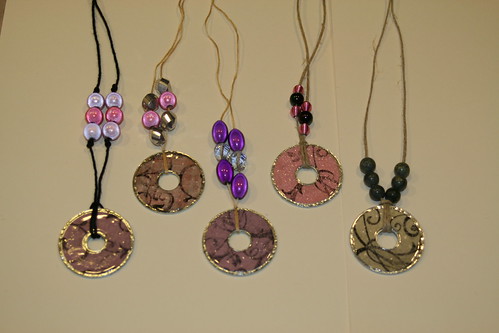
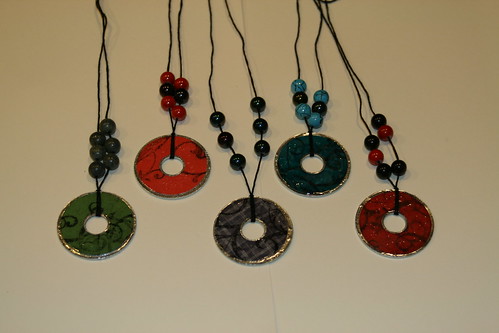
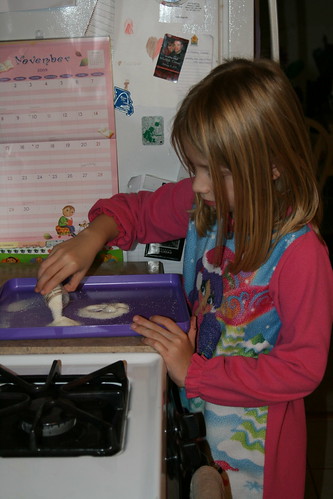
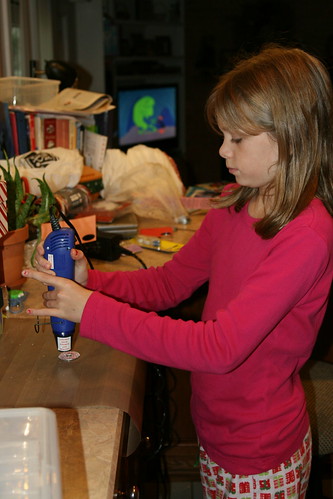
We finished up our first project for craft day - making necklaces.

Originally a few of my friends were supposed to come over and make some with me, but for various reasons, everyone had to cancel.

But, I had two very willing girls here who wanted to help me, so it worked out fabulous if I do say so myself!!

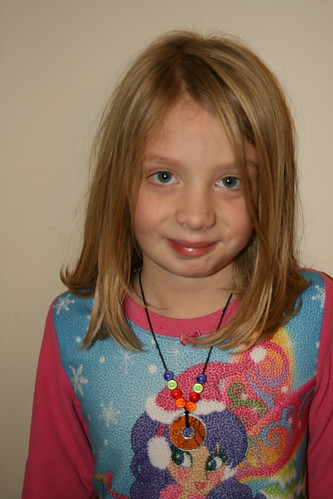
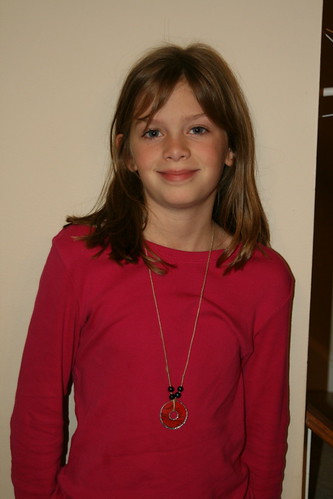
Here are the finished necklaces ...

IMG_0246
(7 year old's)

IMG_0256
(10 year olds)

IMG_0264
IMG_0270
(mine)

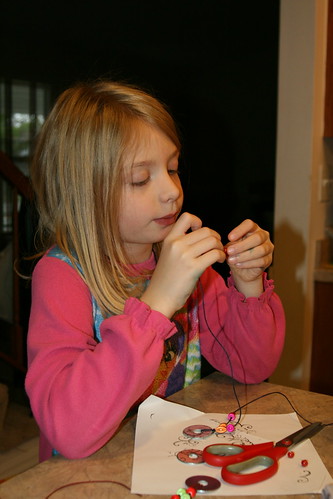
These were made with a washer, that has some pretty paper taped to it, and then a few beads were added. Very simple and yet, I think they look gorgeous!

And some random pictures of us making them:

IMG_0204

IMG_0206

IMG_0216

IMG_0253

IMG_0261

You can go here to see more of my pictures!

Monday, November 09, 2009

And now the fun begins ...

Last week was an interesting week. Little man started the week sick and shared it with me - I know, my son is such a great sharer LOL!

I also had a birthday present to make that I had sort of procrastinated on. I started them Monday night. Just a pair of pedicure socks. I figured that I'd be able to finish them by Friday night with no problem. Thursday I was mostly done with the second sock when all of a sudden I remember the birthday girl was allergic to wool. So Thursday night I started a second pair of socks made from wool-free yarn. Thankfully I finished it on time, but declared to my husband that I needed a knitting break because my hands were sore from all that knitting!

Saturday saw me at Joanns, signing up for a jewelry class (my 10 year old and I are taking it together and I'm so excited!!) And then I saw a sweater pattern. And yarn that I wanted to make the sweater in. And, well, Saturday afternoon I started to cast on! So much for my knitting break LOL!

But now, now the real fun begins. 45ish days until Christmas. So tonight, I started to make those lists I always swear I'm going to make much earlier in the year. It's time to decide what to make for who.

I LOVE this part - I love sitting down and thinking about each person and what I could possibly make for them. Then figuring out all the supplies I will need and just making lists. I love it! Now, I'll need to remember how fun this all is the week before Christmas when I'm stressed and worried about not finishing everything on time LOL! =)

So this week will be a week of planning. Figuring out what to make, what to make first (some things are actually started, some have to be shipped so they need to be ready, some are going to be given after Christmas, etc, etc). And I'm hoping I can get it all done so that I can do some supply shopping next weekend and then get started right away. I think there will be quite a few knitting projects, some sewing I'm sure. Beyond all of that, I just don't know yet! I'm debating on doing some embroidery, and our jewelry class is coming up at the start of December, and that might sway me on changing up a few gifts too! =)

The kids are getting very much into the crafty spirit - they've been talking about making ornaments and my 10 year old has already started to make a few Christmas gifts (which, can I just say, makes my heart swell up so much! I can't lie - I just love it!!) And we're talking about baking cookies and other yummies. I just hope we aren't overloading ourselves - I want to do all these things, but I want them to be enjoyable and not a to do list we're furiously trying to finish, ya know?

Anyway, that's what coming up around these parts and I am looking forward to it! =)

Wednesday, September 30, 2009

Make-A-Messterpiece

Well I've been meaning to write this, and since I leave soon for vacation (that will probably not have internet access!) I thought I should post this now! LOL!

IMG_5063

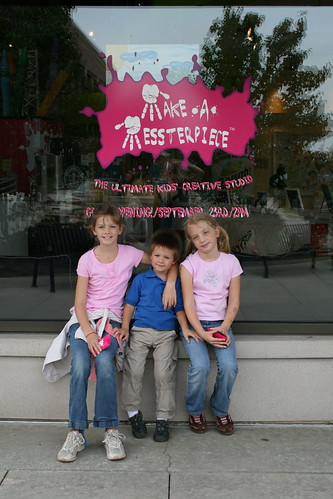
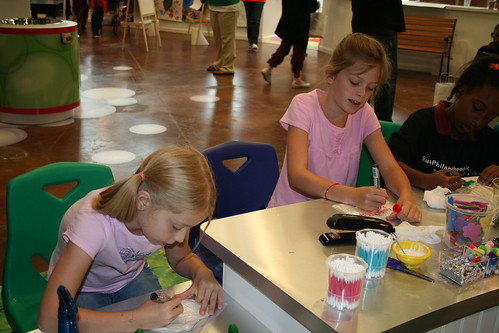
Last week we went to Make-A-Messterpiece in Glenview, IL. It was SO fun. I was invited to them via the blog since I sometimes post about crafting/creating with the kids. Here's where I say I don't get invited to things often - maybe 5-6 offers so far ever. This is the second I've responded positively too and I'm SO glad I did!

I was completely blown away by how fabulous this place is! My kids did NOT want to leave and constantly ask when we get to go back - all three of them were happy all day long! Amazing, and not always something that happens when we go places.

First of all, we were treated so well while we were there - so thanks for that! We were at the pre-grand opening, and were treated to yummy treats, lunch, and no lines LOL! =) We stuck around for the grand opening to the public because my kids had that much fun!

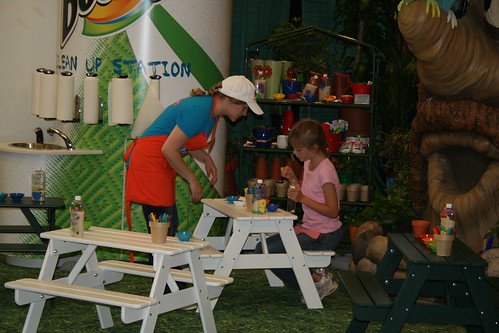
So, tons and tons of things to do there - creative kitchen, club m, drum roll, bubble-ology, little sprouts, experimentation station, and two (not one but two!) play areas!

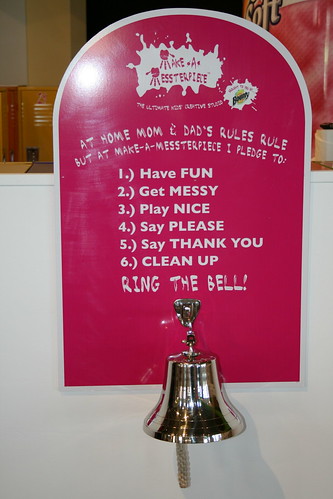
Of course, we have to start with the rules

IMG_5075

My kids did especially well at following make a mess rule ;-)

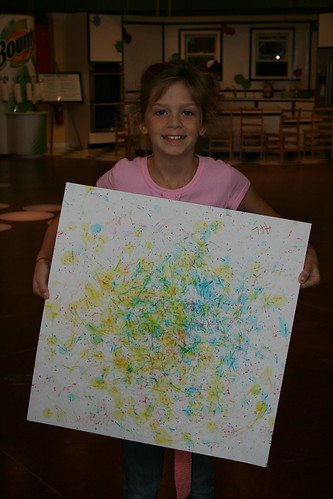
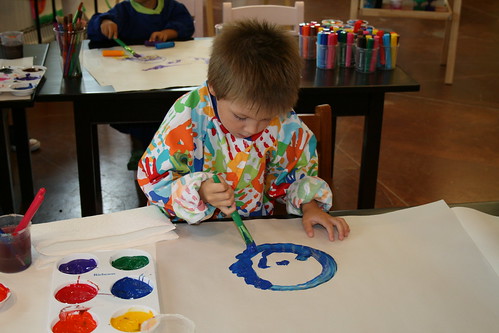
There was lots of painting to be done too!

IMG_5037
(a bubble-ology creation!)

IMG_5072
free painting

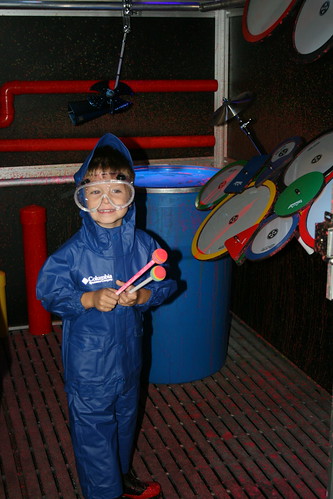
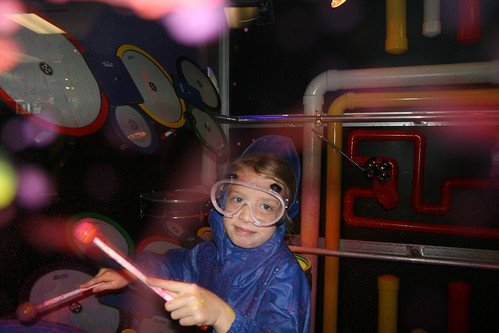
The area that looked the most fun to me was Drum Roll - where you go play drums that have paint on them, so it all splashes everywhere!

IMG_4999
And I have to admit it, they all looked so cute just wearing their little suits to protect their clothes!

IMG_5032

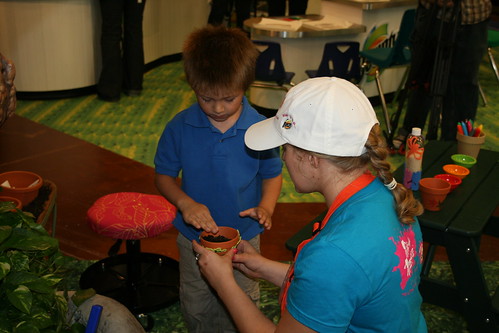
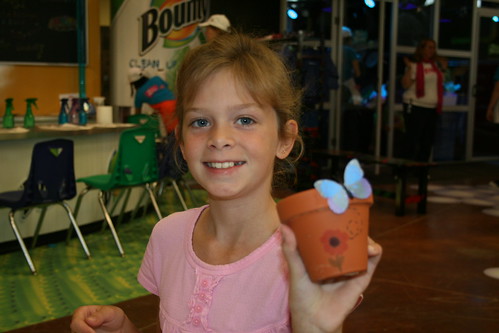
At Little Sprouts we made rice shakers and flower pots - very fun, and all but 1 of our pots are now sprouting! Yeah!

IMG_5020

IMG_4993

IMG_4990


In the creative kitchen they made banana/graham cracker treats - and I sampled them - they were yummy, and we have plans to make them at home!

IMG_4981


Experimentation Station had them sprouting some beans - fun! And something I remember doing as a kid!

IMG_5045


Club M is where the moms can sit and hang out while the kids get creative!

IMG_5042

And one of the play areas:

IMG_5074

And when we got home, we had to hang up our new art on the art wall:

IMG_5089


I so recommend taking a day/afternoon to head over there and let the kids have fun and get creative and explore. It's nice to have a spot where they can get a taste of so many ways to be creative - all while not having to worry about cleaning it up!

We will definitely go back again - I'm just not sure when =)

To see more pictures (yes, there are more LOL) you can click here!

Thursday, July 23, 2009

New shirts!

The kids got new shirts yesterday. Well, actually they made new shirts yesterday - which of course they HAD to wear today.

Painting the shirts:

IMG_4248

IMG_4245

IMG_4244

And wearing them today:

IMG_4250

My 3 year old especially was so proud to tell people he painted that dinosaur. I think a few people doubted him so I stepped in and said yep! We did it just last night!

We used the freezer paper method - in which hubby and I cut out the shape from a square of freezer paper, ironed the whole piece to a shirt and paint! When it's dry, you peel the freezer paper off and what's left is the shape you cut out. So it's looks great and beautiful and no one has to actually be able to draw the shape they want (we googled silhouette for the shape we wanted and just traced it!)

We got the idea from The Creative Family by Amanda Blake Soule (aka Soule Mama - whom I adore and would like to be like when I grow up!)

Thursday, June 25, 2009

Dog days of summer ....

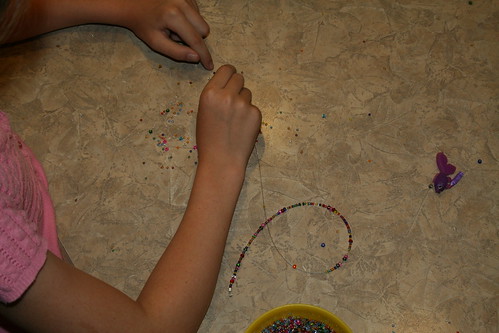
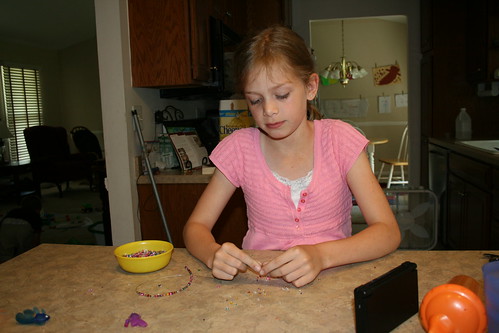
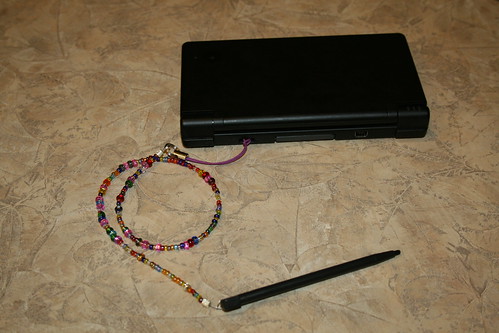
We've been hit with the dog days of summer around these parts! So despite wanting to run around outside, we've been trying to stay in during the hottest part of the day. So today, we pulled out some crafting supplies and made pen holders for the DS (something we've been meaning to do for quite some time!)

IMG_4108

IMG_4107

And you end up with this:

IMG_4111

It was fun and a great way to spend time indoors and hopefully I will do less searching for missing pens! =)

Friday, May 08, 2009

Learning to embroider ...

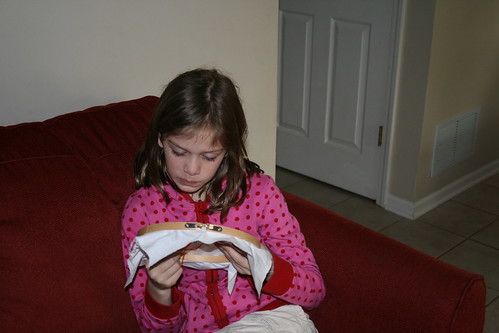
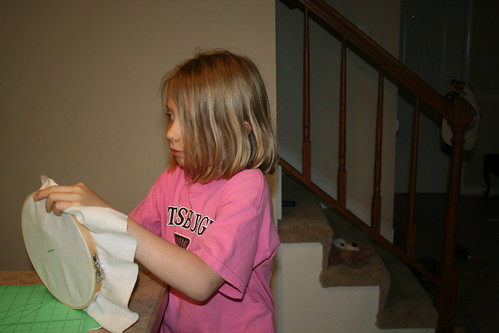
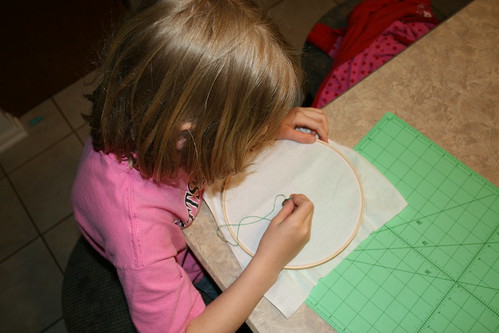
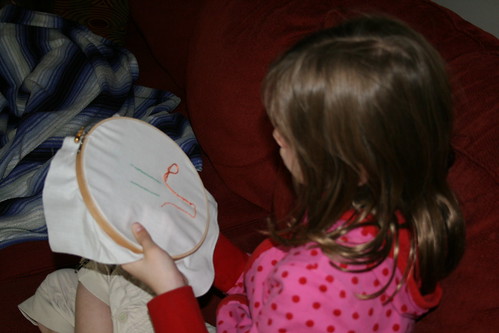
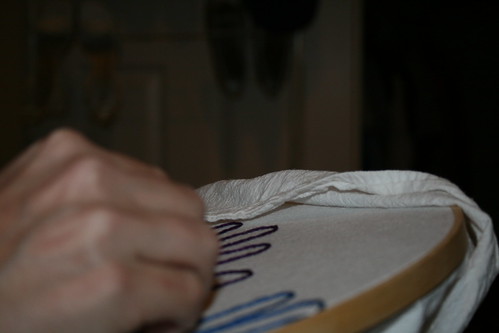
This week I learned, well, am learning, how to hand embroider.
I saw a project a while ago on craftzine and wanted to copy it. Of course I saw it forever ago and didn't bookmark it, so I can't give credit to the original creator, but I needed to embroider to complete it.

What I am making is a gift (which means you can't see pictures until it's been given and opened. Sorry) and I thought the gift would be even better if I got the kids in on it too. So not only have I been stitching away this week, but so have the girls.

Now, I won't tell you that our stitches are perfect and uniform and even. They are not. But they are turning out really well. And the girls are doing a great job with it. Miss M is already planning out her next few projects. I believe Miss A might have another one in the works as well. They've made great progress this week though and it's neat to sit down and be able to do this with them!

IMG_2877

IMG_2884

IMG_2886

IMG_2879

I love having this to do with them. And maybe their other projects will come to fruition and maybe not, but at least for now I'll have this week to remember stitching and learning along right beside them!

IMG_2915

My project is done now. But never fear - it was so great, I have another project on the list! =)

Monday, May 12, 2008

A Craft Idea!

Here's a fun craft idea that you can make with the kids - or if you like just for yourself!

Magazine Holder

Supplies Needed:
Cereal box
Pictures
Decoupage Glue
Scissors
Marker
Ruler

Magazine Holder 1


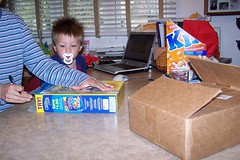
Step 1:
Magazine Holder 2

Using a Ruler, draw lines as to where you want to cut the box

Step 2:
Magazine Holder 3

Cut box on the lines!
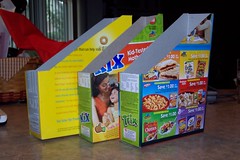
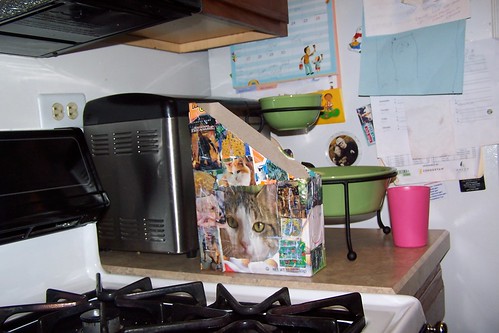
You probably want them to look a bit like this:
Magazine Holder 4

But, really use your creativity and maybe change the shape a bit! =)

Step 3:
Magazine Holder 5 Magazine Holder 6

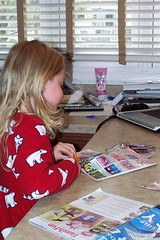
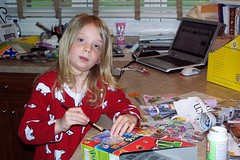
Gather lots of pictures. I'd like to point out this is a great way to use old magazines - they have lots of good pictures in there to use. And I also have to say my kids LOVE to cut them up, so they particularly enjoy this step =)

Step 4:
Magazine HOlder 7 Magazine Holder 8

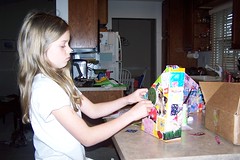
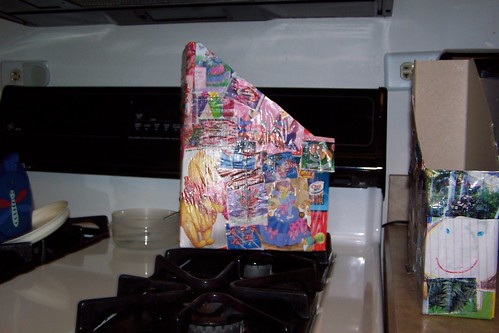
Glue the pictures on the box - however and where ever you want to!
Note: You could also paint the box if you want. My one dd suggested next time we paint the box first then glue pictures down so that the cereal stuff doesn't show up in the background. However, I don't know how well the glue would stick to paint.

Step 5:
Magazine Holder 9

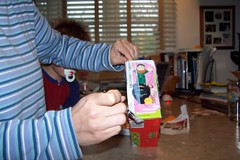
After all the pictures are glued down, take the glue and then paint over the top of the pictures. In case you haven't used the decoupage glue before, it will look milky when you put it on, but it will dry clear.

Step 6:
Magazine Holder 10 Magazine Holder 11


Enjoy your magazine holders! =)

I didn't get better pictures because the kids grabbed them and used them almost immediately! We had a lot of fun doing this. And the kids have been saving all the empty cereal boxes (I have a pile of about 4 in my basement right now LOL). They can't wait to do it again.

This is a great way to make a magazine holder without a)buying one and b)having fun at the same time.