Magazine Holder
Supplies Needed:
Cereal box
Pictures
Decoupage Glue
Scissors
Marker
Ruler

Step 1:

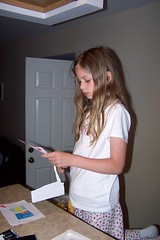
Using a Ruler, draw lines as to where you want to cut the box
Step 2:

Cut box on the lines!
You probably want them to look a bit like this:

But, really use your creativity and maybe change the shape a bit! =)
Step 3:


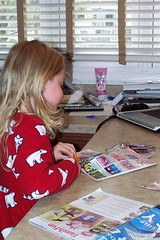
Gather lots of pictures. I'd like to point out this is a great way to use old magazines - they have lots of good pictures in there to use. And I also have to say my kids LOVE to cut them up, so they particularly enjoy this step =)
Step 4:


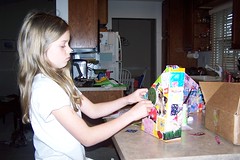
Glue the pictures on the box - however and where ever you want to!
Note: You could also paint the box if you want. My one dd suggested next time we paint the box first then glue pictures down so that the cereal stuff doesn't show up in the background. However, I don't know how well the glue would stick to paint.
Step 5:

After all the pictures are glued down, take the glue and then paint over the top of the pictures. In case you haven't used the decoupage glue before, it will look milky when you put it on, but it will dry clear.
Step 6:


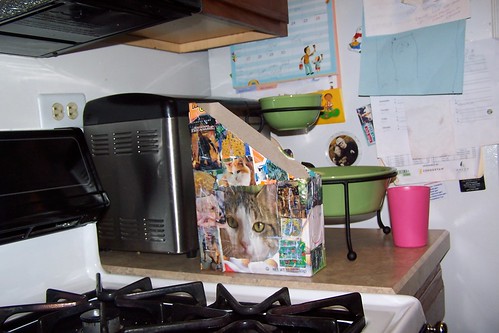
Enjoy your magazine holders! =)
I didn't get better pictures because the kids grabbed them and used them almost immediately! We had a lot of fun doing this. And the kids have been saving all the empty cereal boxes (I have a pile of about 4 in my basement right now LOL). They can't wait to do it again.
This is a great way to make a magazine holder without a)buying one and b)having fun at the same time.

Riley would love this! I will have to remember it for when school is out.
ReplyDelete